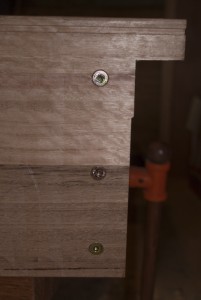
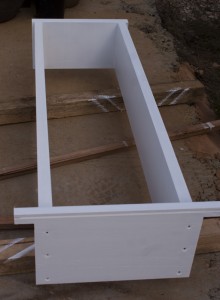
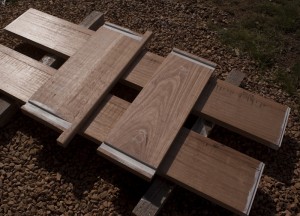
The second window to get built and installed is for the storage room. This window is more or less the same as all the other windows in the house. The difference between this and the window in the garden shed is that the sill has horns.
These horns extend the sill either side of the jams, and are mostly decorative in nature. Because the sill overhangs the weatherboards, the architrave cannot be carried across the bottom if the window. So the architrave must abut the sill, and the horns provide a place for this abutment.
I may choose to put an apron under the sill – I have not decided yet.
Prior to assemble, where the jams join the head and sill, I have applied two coats of paint to protect the timber.
The window is then assembled using three 75mm screws per joint.
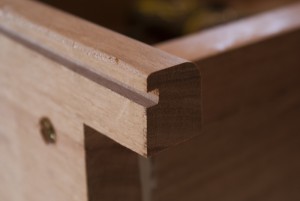
Here is a closeup showing the drip groove cut into the front underside of the sill. This grove is cut with a few passes on the tablesaw, with the blade set very low (about 6mm).
Any holes, checks etc are filled with putty, then the window is painted with three coats of 3-in-1 undercoat/sealer/primer.
Just prior to installation, the exterior joint intersections are sealed with polyurethane to stop water seeping into the joints.
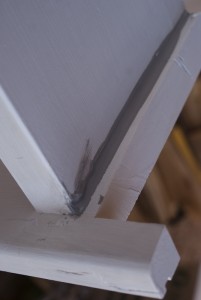 |
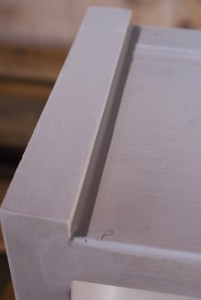 |
Installing the window is a case of sitting it in place, then shimming the sides to make it plumb. I am fixing the window in place with screws in the jams. I am screwing through the jams into the frame studs. The screws will be hidden bu the glazing/sash mouldings, so I have to take care to put the screws where the moulding wil hide them. The alignment shims are placed at the screw positions, and act to chock the jams where the screws go through so the jams dont get pulled out of shape.
Once the window is in place I put some architrave on the inside. As this is a store room I just used MDF architrave stock that I was given by a neighbour.
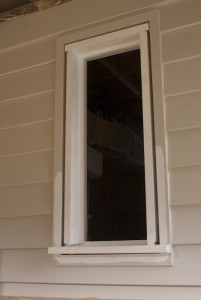 |
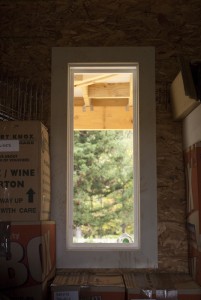 |
