At long last the time has come to install our front door. It has been resized, undercoated, and hinged have been mounted. Its now time to hang it. Lets hope it fits !
Door Jamb Preparation
The key to hanging a door is preparation, and that preparation starts when you build the house frame. Make sure the rough frame is the right size to contain the door jamb, plus a bit of space for packers to align the jamb. The jamb must then be installed perfectly square and level/vertical. If the jamb sides are square to the jamb head and sill, and the jamb sides are precisely vertical, then you are 85% of the way there. Next you must cut your hinge mortises in the jamb and matching mortises in the door, ensuring a small gap at the top and bottom of the door so it swings freely.
If you have sized your door appropriately, then fixing the hinges to the door and the jamb is a walk in the park. If not, then you are in trouble.
Mounting the Door
In this case, I was in luck (i.e. good planning). There was a small bit of stress on one of the hinges, where the jamb had a very minor bow, and perhaps the door was not perfectly flat. It seems to pull up OK.
I used 4 x 100mm stainless steel ball bearing hinges. Most doors use 3 hinges, but I am a bit paranoid as the door was a little heavy.
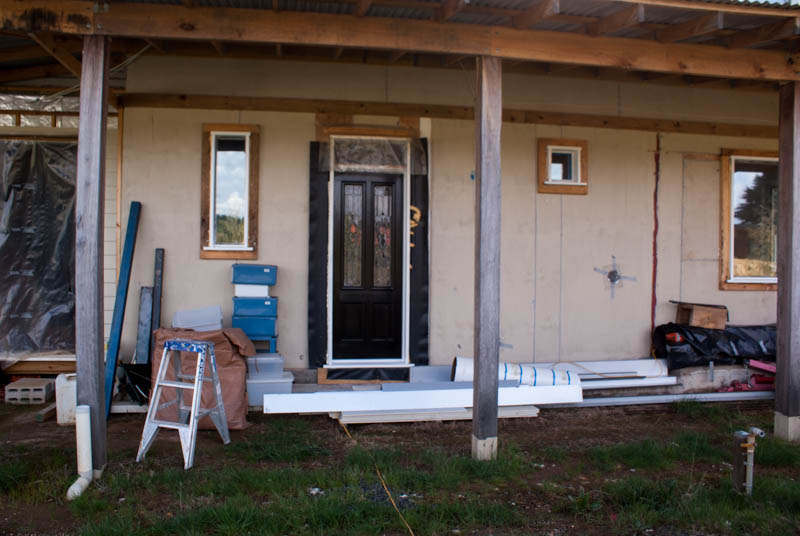
The door swings nicely, and stays in place wherever it is, so that means the lamb is vertical, both left to right and front to back.
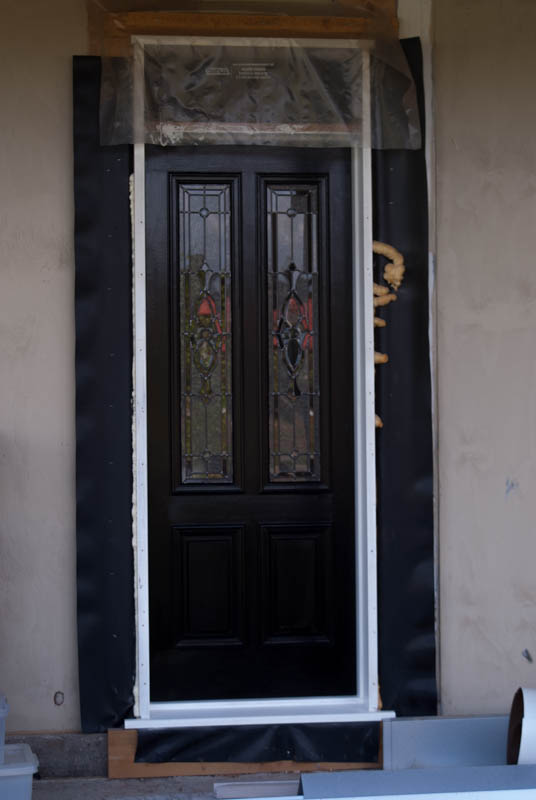
The gap around the door is about right – 3-5mm.
Topcoat Painting the Door
We decided to put the topcoat on the door once it was hung, mainly to limit the dust and bugs that would land on the wet paint. We had already given it 2 good undercoats.
We painted the door with water based paint – exterior semi-gloss paint for the outside face, and interior semi-gloss for the interior. Why use two different paints? To cater for the two different circumstances the different sides of the door will face. The exterior experiences quite a range of temperature and moisture, so the paint needs to be flexible, which is what an exterior paint is all about. The inside needs to be tough and more glossy as it gets knocked a bit and will be whipped down occasionally, thus an interior paint.
We used a good push (Purdy), and it made a world of difference when compared to prior painting experiences with average brushes.
The Results
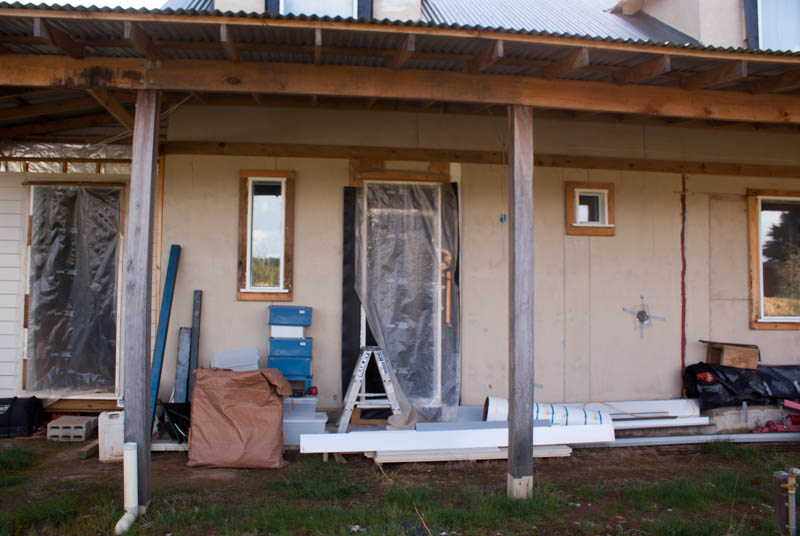
Prior to the door going up, a sheet of plastic covered the entrance.
This worked quite well, but flapped a bit in the wind, and because it was held in place with battens, you could not open it easily.
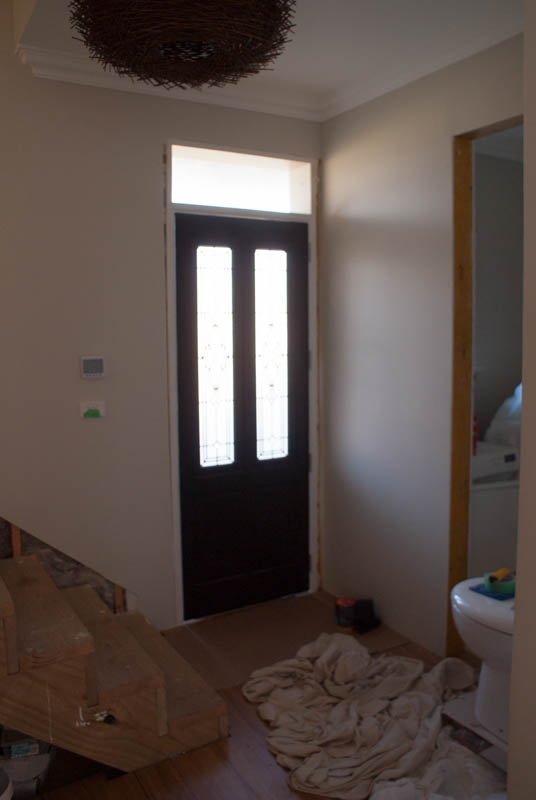
Now, we have a real door.
Now I need to install the handles and weather strips, then put a topcoat on the jambs.

Nice work Phil. Coming together very well.