Continuing the pipeworks

This week sees more work done on the pipes (ring main and stormwater).

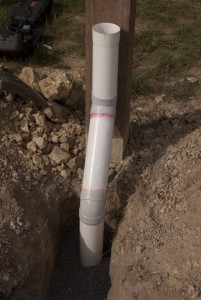
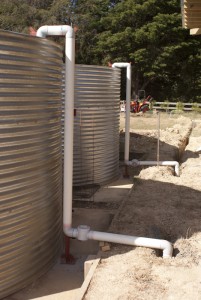
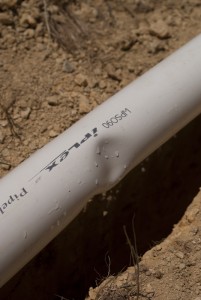
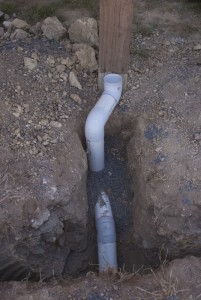
Sometimes I find it very hard to line up pipes. So we end up with little anonolies like this:

Perhaps the best approach is to tackle it from both ends – fin the pipework off the post down to the junction, then fit the pipe up to the junction.

Most of the problem here though is lining up two subsequent elbows.

I think I need lines drawn down the pipe so that i can match up the elbows and bot get it slightly twisted.

I need to make up a jig so I can draw a line down the pipe. There must be a better way !


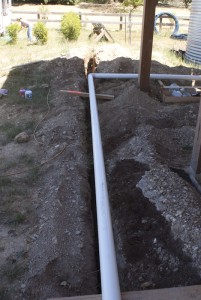
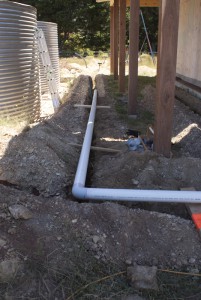
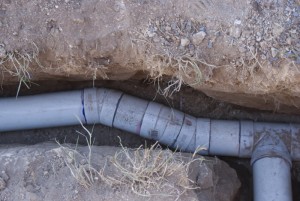
Here is an example of why trench layout is so important:

Ugly compound angles. I should have paid more attention to making straight trenches with defined angles that better suited standard pipe elbows.


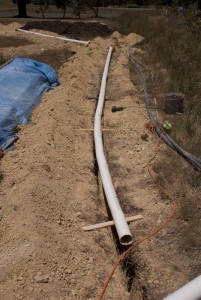
Here is anther example of not digging straight trenches:

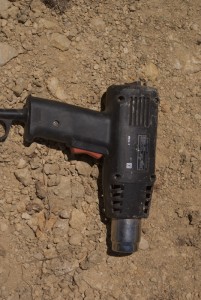
I mistakenly thought the pipes would have more flex in them. The way to fix this was to bend the pipe with a bit of heat. So out comes the hot air gun and I set to work heating and bending here an there.

If I didn’t do this, the joins in the pipe would be over stressed and probably pop apart.

Its easy to kink the pipe doing this, so care is required. Heat the pipe all the way round before trying to bend it. Also have a spray bottle of water handy to coole the pipe so it sets in the correct position.
 

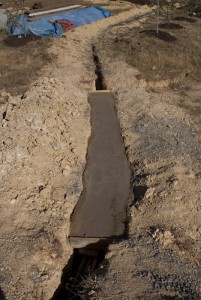
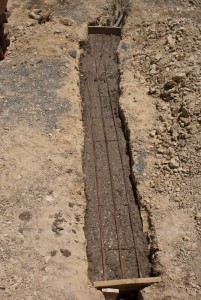
One of the other key jobs was to concrete a crossover where the driveway crosses the pipes into the future carport area. Because of electrical cables below, I could not dig the pipe trench deep enough to cater for the weight of a car. So I boxed in the pipes and concreted over them.

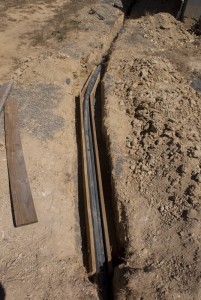
I used some scrap 150mm x 25mm treated pine to make a box over the pipes. Luckily, I also had some leftover reinforcing from the workshop slab, so that cam in handy.

There was a fair bit of crowbar work to widen and straighten the trench so I could get a decent amount of concrete either side of the box.

There is one 15 degree elbow join within the box, in the stormwater pipe. I would have preferred no joins under the concrete, but if could not be helped thanks to my inconsiderate trench digging (ie not straight).
 

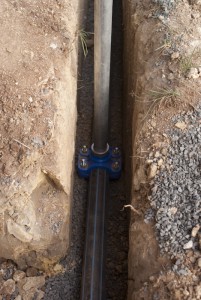
The other thing worth noting are the saddles I used on the 50mm ring main to atach the galvanised upstands for the sprinklers and fire hose points.

These are much better than using ‘T’ junctions – they are cheeper, and easier. All you do is bolt them over the pipe, then use a drill to make a hole in the pipe, using the threaded hole where the galvanised pipe will screw into as your guide.

Use a normal twist drill of about the right diameter. As it turned out I has a 20mm twist drill handy.

DO NOT use an auger bit. It is too aggressive and will pull right through to the other side of the pipe and possible punch a little hole in the other side. This is what I tried first before I found the twist drill. Not a good idea.

You do end up with a bit of crap in the pipe as a result of the drill. I just try and pick the chuncky bits out with some pointy node pliers.
Laying pipework

We have started laying the in-ground pipework – stormwater, ring main, and mains pressure feed.

Originally I was going to lay the sewer pipe in the same trench as the others, but have decided that I cant achieve the correct fall on the sewer if I use these trenches. I need at least a 1:100 fall. So I will have to redig a separate trench for the sewer. This is a bit of a pain because I ether need to re-hire the dingo trencher (at $450 per day), or use my backhoe which will be much slower and dig a wider trench. I’ll probably end up using the backhoe to save some money.

So down the south trench I put in the 32mm blue line pipe for the mains pressure line that will be used to fill the tanks if they ever run dry. Then on top of that we lay the 90mm storm water, with takeoff for the down pipes. Then on top of that goes the 50mm blueline for the ring-main, with takeoffs for the house/workshop water supply, garden taps, fire hose points, and fire sprinkler points.


Refer to this post for tips on getting the trenches set up right. Because of some of the failings mentioned in that post, we had to work a bit harder on the stormwater line.

The stormwater pipe is back filled with ‘1/4 minus’ screenings so it is properly supported all round. The screenings easily flow under the pipe and into all the dips and hollows, especially with a bit of tapping and tramping with a stake.


Because we are using charged storm water lines (where the water sits in the lines permanently) we didnt have to worry about the fall of the pipes. The reason for this is that the water tanks are sitting roughly at the same ground level as the house. So, the inlet to the watertanks is about 2.1 meters above ground level. The guttering on the house is about 3 meters above the ground, so there is a ‘head’ of about 0.9 meters between the water coming off the roof (guttering), and the flow into the tanks. But that means there is water in all the stormwater drain pipes from the height of the tank inlet to the lowest pipe. Thats all ok. However you really need to ensure there is a way to purge this water, as you dont want it to go stagnant. So if the weather has been dry for a few weeks, then just before a rain, dump the water in the pipes.


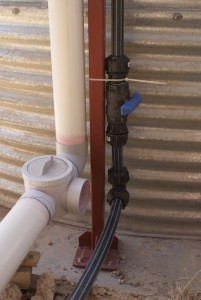
You can see in this picture (above) the dump gate (its not fully plumbed up yet).


Important note: I didnt bother to read the install instructions for blueline pipe, so I just backfilled the pipe with the dirt from the hole. This is OK if the dirt does not contain any rocks greater then 15mm. However, ours does – sandstone chunks. So, now I need to dig up what I have filled in (about 30 meters) and put in small screenings to protect the pipe from abrasion by the rocks. What a bugger !

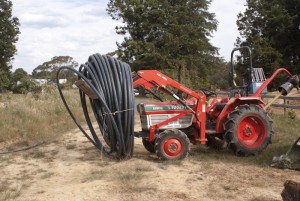
50mm blueline pipe is heavy. It helps to have a tractor :-)


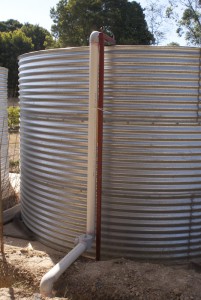
We have also made up two steel riser posts to support the stormwater outlets for each tank.


These posts bot onto the concrete slabs that the tanks sit on. Eventually I will paint the pipework and posts.