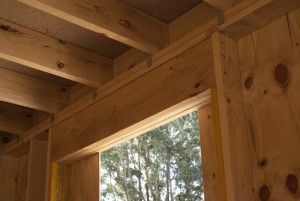
This weekend I did a bunch of little jobs to finish the framing for the ground floor.
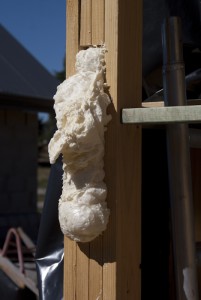
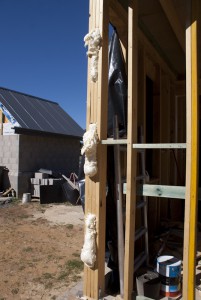
I added expanding foam to many of the gaps to help insulate, stop drafts, and stop rain from coming in prior to the brickwork being done.
 |
 |
 |
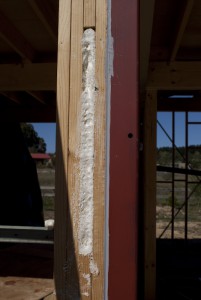 |
Lessons #1 – Expanding foam takes a while to reach its full size, so do a little bit, wait a while, then add a bit more. The problem is the nozzel of the can will clog up with dry foam. Apparently acetone will disolve it. I didnt have any at hand, but will make sure aI do for next time (and a container long enough for the nozzel).
Lesson #2 – Expanding foam is NOT a closed cell foam, especially once you trim off the excess (ie remove the outer layer). It WILL let water through.
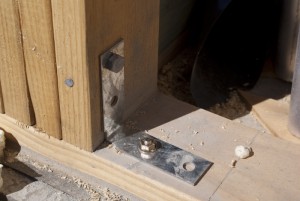
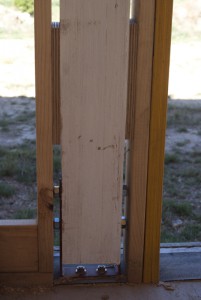
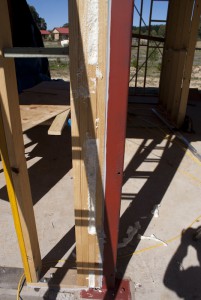
I added some brackets to better tie the wall studs to the bottom plates.
I did this because I did not add strapping under the bottom plate and up the studs. I didnt add the trapping for two reasons – It would interfere with screwing plater to the lower portion of that stud, and it raises up the bottom plate a little, maling it hard to level out the wall. So, I used brackets instead, dynabolted into the concrete, at strategic intervals (ie the ends of walls, and at jack studs).
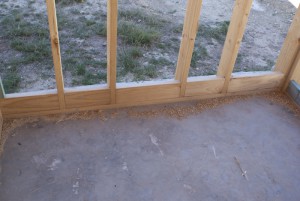
Just as a point of note, all the walls have this extra blocking on the insides, which will be useful when fixing skirting – we plan on having high skirting. Its useful because there will be a timber floor installed on top of battens, thus raising the floor level by 40mm. Therefore the bottom plates wont be accessible to fix skirting to.
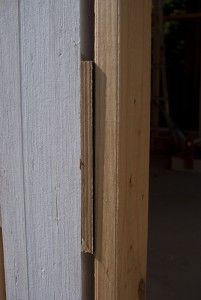
Just a note on packing and blocking. When you cut blocking or packers, trim them to the width of the stud material (or just a bit narrower). It seems obvious, but I neglected to do this in some cases, thinking I could trim it after with the planer. However, sometimes its real hard to access with a planer in a tight corner. So, its MUCH easier to tim before instalation.
Note the uni-ties linking the joists to the top plates. I’ll probably add one on the other side of each joist too.
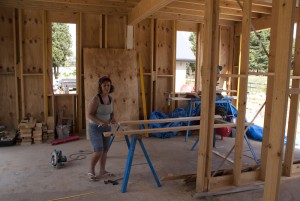
And here’s a few pics to finish off this week:
 |
 |
