The very first weatherboards went up today. Very exciting. They were installed on the storage area under the deck.
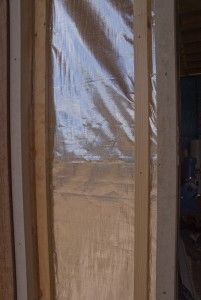
The first wall I tackled was probably the hardest of the storage area – the doorway wall. I needed to do a bit of prep on this wall because I realised that I had extended the floor about 20mm further out from the wall than I should have, because I want the first weatherboard to go below the decking that will run under the veranda.
So I had to pack out this wall by 20mm with pine furring strips.
 |
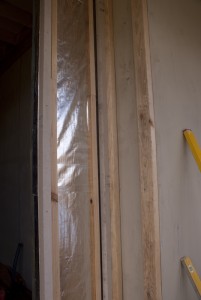 |
Luckily I had some 20×40 pine strips, but not quite enough, so I hade to machine up a bit more on the bandsaw and thicknesser.
I have decided to use 38x45mm trim for the weatherboards. The other size available to go with the Linea weatherboards we have chosen is 38×90. However this larger size is a fair bit more expensive, and would require more packing in the framework behind to support it and the weatherboards, so I dont think its worth it. This smaller trim will go on the internal corners and around the doors and windows. I will still have to use the wide trim on the external corners, because I will need the extra width for nailing to fix it in place as it needs to extend out 38mm pas the wall frame so the weatherboards can but into it.
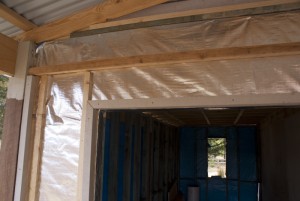
As part of the prep I needed to put in a batten for the soffit lining.
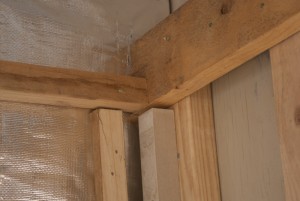
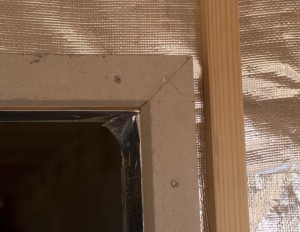
When installing the internal corners (and external ones later on), because the soffit ins not yet in place i need to allow an 8mm gap between the top of the corner pieces and the soffit battens so the soffit lining can slide into place.
Its hard to get the corner mitres exactly right, so some putty will come into lay here. Even though most of it will be covered by architraves, we still need to be as neat as possible.
 |
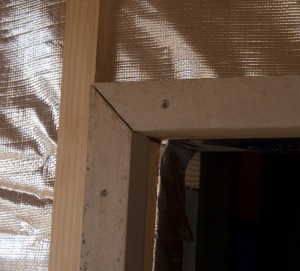 |
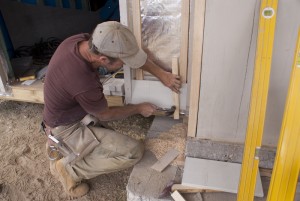
I used 75mm bullet head nails to hold the corner and door trim pieces in place. I pre drilled holes first using a 3.5mm masonry bit. I didn’t like the chances of the nail gun punching through the trim. Also, the head of the nails on the gun would be too hard to punch below the surface so we can cover them with putty.
BTW, I will be using an exterior grade flexible putty to fill the holes, and the gaps in the mitres.
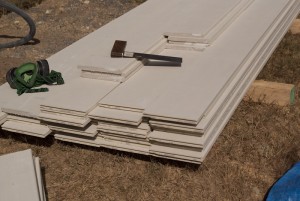
Here is the pile of weatherboards. Now we need to put them up!
The first one goes up. Its not a big one, but its a critical one, because the height of this board sets the bottom edge height for the entire building. Hope its right !
Note: If the board is a tight fit, its very easy to peal a bit off the front face of the board. So, use a bit of timber held right up against the vertical edge on either side as a tapping piece to support the front face of the board as you tap it in place.
I am using 50mm galvanised nails in the nail gun to put up the boards.
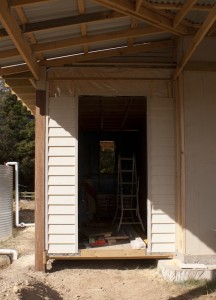
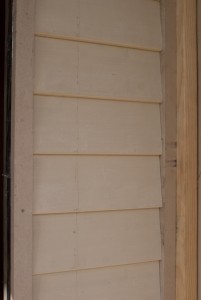
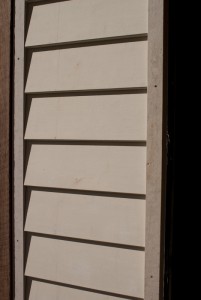
And here is the wall so far.
 |
 |
